Friday, June 27, 2014

The All Natural Heartburn Remedy for Instant Relief

The All Natural Heartburn Remedy for Instant Relief

This post may contain affiliate links to products I use and recommend. Here's what that means!
instant heartburn relief

Reaching for antacids all the time?

Do you stash bottles of antacids in your car, office and home? Or do you experience less frequent but still very uncomfortable bouts of heartburn? Then your body is telling you something… and the message is NOT to take a swig of liquid antacid medication or pop some pills.

Heartburn: a vicious cycle

Both acid blockers and antacids, the common treatments for heartburn, actually perpetuate a vicious cycle of attack on your poor esophageal lining. That’s because heartburn results from too little stomach acid, not too much. Counterintuitive, right? But it’s biology, folks. 
Stress and poor diet reduce gastric juices instead of increasing gastric juice. That is one reason why we see skyrocketing numbers of heartburn sufferers in our stressed and unhealthy world. This low stomach acid not only leads to heartburn but also bloating, hormone problems, peeling nails, thinning hair, gas, constipation and more.
Acid reducers and acid blockers further lower our stomach acid. This reduces the sensation of heartburn by making the stomach contents more alkaline, but it doesn’t prevent the stomach contents from leaking into the esophagus. And the more alkaline the food in the stomach, the less it gets digested and the more problems it causes when it goes lower down into the digestive tract.
When our stomach is producing adequate acid, then the valve at the top of the stomach is signaled to close tightly, preventing the acidic contents from leaking into the esophagus. This heartburn remedy helps signal the stomach to close this valve.
For more details, I discussed this in my posts, Heal Low Stomach Acid Naturally and The Dirty Secret Behind Heartburn Medications. I also highly recommend Craig’s book, The 30 Heartburn Solution.

A natural heartburn remedy… that works!

This effective and natural heartburn remedy works the opposite way of Tums or Gaviscon or [insert heartburn medication of your choice here]. It makes the stomach more acid, not less acid. This signals the valve at the top of the stomach to close and the valve at the bottom of the stomach to open – so food goes down, not up!

Instant and All Natural Heartburn Relief Recipe

2 tsp. raw apple cider vinegar, such as Bragg’s 
1/4 – 1/2 cup filtered water (I recommend this water purifier, which eliminates toxic fluoride and chlorine)
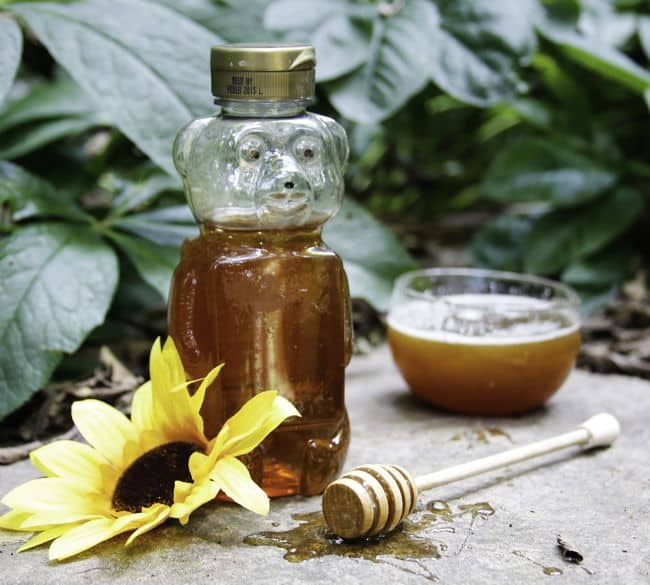
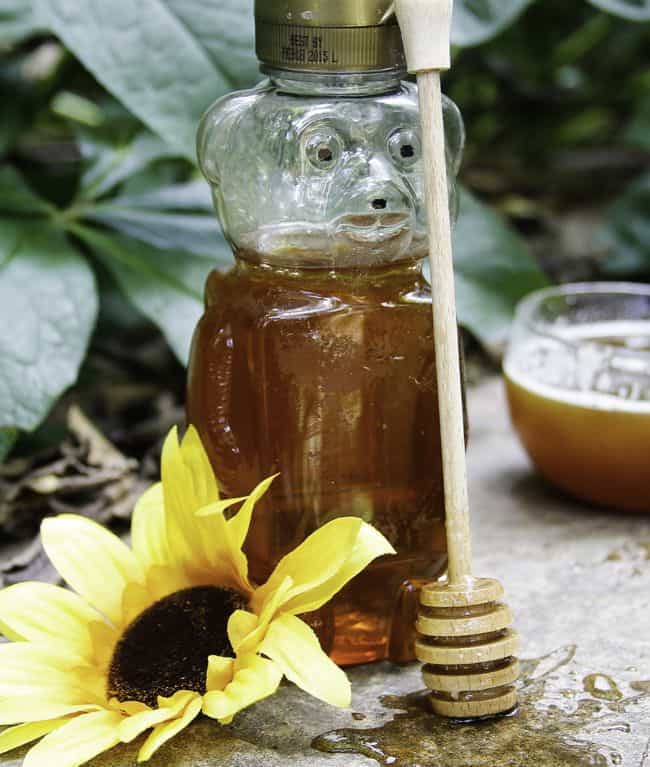
Mix together and drink at the first sign of heartburn. You can continue to take this every 5-10 minutes until you have relief, but one serving usually takes action within just three minutes. If it tastes too sour for you, add a teaspoon of RAW (also called unpasteurized) honey or reduce the vinegar to 1 tsp. Otherwise, just gulp it down.
For best results, take this with every meal and between every meal to help prevent heartburn.
instant and natural heartburn remedy
Do you struggle with heartburn? Have you tried this natural heartburn remedy before? 

Thursday, June 26, 2014

How to make Solid Perfume Sticks

How to make Solid Perfume Sticks

1K+
1K+
solid perfume sticks
Every time there is a new bundle sale, I go crazy making natural body care products, new recipes, and home remedies. I just can’t help it. I love that so many resources are available  that clearly explain how to do these things at home. It’s wonderful.
This time I made solid perfume (from the MadeOn Personal Care Edition in the Natural Skincare section of the Ultimate Healthy Living Bundle Sale).
I know they look like lip balm! But instead they a scented sticks you can carry around and apply at any time. They are scented with essential oils, making these perfume sticks all-natural. Woo-hoo!

How to make Solid Perfume Sticks

I have adapted this recipe from My Buttered Life Personal Care edition
Ingredients
2 tablespoons sweet almond oil
1 tablespooon apricot kernal oil
1/4 cup beeswax pastilles
3/4 teaspoon essential oil (like lavender or sweet orange)
Instructions
1. Add beeswax and oils to a heavy duty glass measuring jar (make sure it’s heat proof. Use a canning jar if you are not sure).
2. Place jar in a pot and pour water into the pot so it comes up the sides of the jar (past the ingredients inside the jar).
solid perfume ingredients
3. Warm the water and ingredients over medium heat.
(You could also melt everything in a double boiler instead).
3. Remove from heat, stir in the essential oils and pour into  lip balm tubes.
4. Allow to harden before covering with a lid.
Pretty easy, right?

Wednesday, June 25, 2014

**SURPRISE Bonus****17 Personal Care Products You Will Never Have To Buy Again

17 Personal Care Products You Will Never Have To Buy Again


17 Personal Care Products You Will Never Have To Buy Again

Skin Care Series - Eye Cream


Today I want to share my favorite eye cream with you.  It is super simple to make using only two ingredients - coconut oil and Vitamin E.  In yesterday's post we learned that coconut oil is a protective antioxidant and supports tissue repair and healing.  

This is what www.healthy-skincare.com has to say about Vitamin E:


In terms of skin health and skin care, vitamin e benefits are numerous. In fact, skin care products that contain vitamin e have become an essential part of healthy skin care.

Antioxidant
First of all, because of its antioxidant activity, vitamin e is vital in protecting skin cells from ultra violet light, pollution, drugs, and other elements that produce cell damaging free radicals. It is believed that vitamin e is most effective in its natural alcohol form rather than its acetate form where it is a less effective antioxidant. Watch for this in the labelling of skin care products.

Regulator for Vitamin A
The vitamin e benefits for healthy skin care also include its ability to regulate vitamin a in the body, which itself is important for healthy skin.

Anti-Aging Benefits of Vitamin E
Vitamin e added to lotions, creams, and other skin care products, as well as taken orally, plays a role in the anti-aging of skin. It helps skin look younger by reducing the appearance of fine lines and wrinkles. Also, free radicals are believed to play an important role in skin aging and therefore the antioxidant activity is quite valuable for this skin problem.

Treatment of Skin Diseases
Vitamin e can aid in the treatment of various skin diseases or skin conditions. Topical applications such as those used to treat psoriasis is one of the benefits of vitamin e. Orally ingested vitamin e can help treat erythema (a skin inflammation that results in reddish, painful, and tender lumps).

Skin Cancer Benefits of Vitamin E
One of the most important benefits of vitamin e is the prevention of skin cancer. This occurs because of its sun protection quality and of course its powerful antioxidant properties, which help reduce or prevent sun damage.

Other Vitamin E Benefits
There are a variety of other benefits of vitamin e for skin care:
  • vitamin e products help reduce the appearance of stretch marks
  • vitamin e can help prevent the appearance of age spots
  • it helps maintain the skin’s oil balance during the cleansing process
  • it reduces transepidermal water loss from skin and strengthens the skin’s barrier function
Overall for skin care, more benefit is obtained from topical application of vitamin e through creams or lotions rather than taking vitamin e orally. Skin is able to absorb natural vitamin e effectively. However, taking vitamin e orally is important for the good health of other areas of the body. 

Now that you know why we're using coconut oil and Vitamin E, let's find out how to turn them into an eye cream.  First you need to find a container to make your cream in.  The one in the picture is a miniature jelly jar.  My guess is that it is between a half and one ounce.  In the past, I've just used clean eye contact containers.  

Fill your container with coconut oil.  It is solid at room temperature and doesn't begin to melt until it reaches 76 degrees Fahrenheit.  So, at this point I put it in the microwave for just a couple of seconds until it begins to melt.  Next, you poke a hole in your Vitamin E capsules and add to the melted coconut oil.  For the jar above I used 3 capsules.  I use 1 capsule per side when using contact containers.  Then, I use a tooth pick or wooden skewer and blend them together.  At this point I put the cream in the refrigerator to become solid again.  After that happens there is no need to keep it refrigerated.  The oils will not become rancid.  

That's all there is to it.  When my sister was here visiting I let her try it and she was immediately hooked.  So I made her up a batch and sent it home with her.  About a week later she sent me an e-mail telling me that she LOVES this eye cream.  She said it was better than the expensive stuff she was buying.  And this costs nearly nothing per batch. :0)


I got the recipe for this wonderful eye cream from a fantastic book, "Return to Beauty" by Narine Nikogosian.  It is full of awesome recipes using natural ingredients.  Narine breaks the recipes down not only by skin type, but by season as well.  I rented it from my local library, but it is one I would definitely invest in.

Tuesday, June 24, 2014

***bonus*** 17 Personal Care Products You Will Never Have To Buy Again

17 Personal Care Products You Will Never Have To Buy Again


17 Personal Care Products You Will Never Have To Buy Again

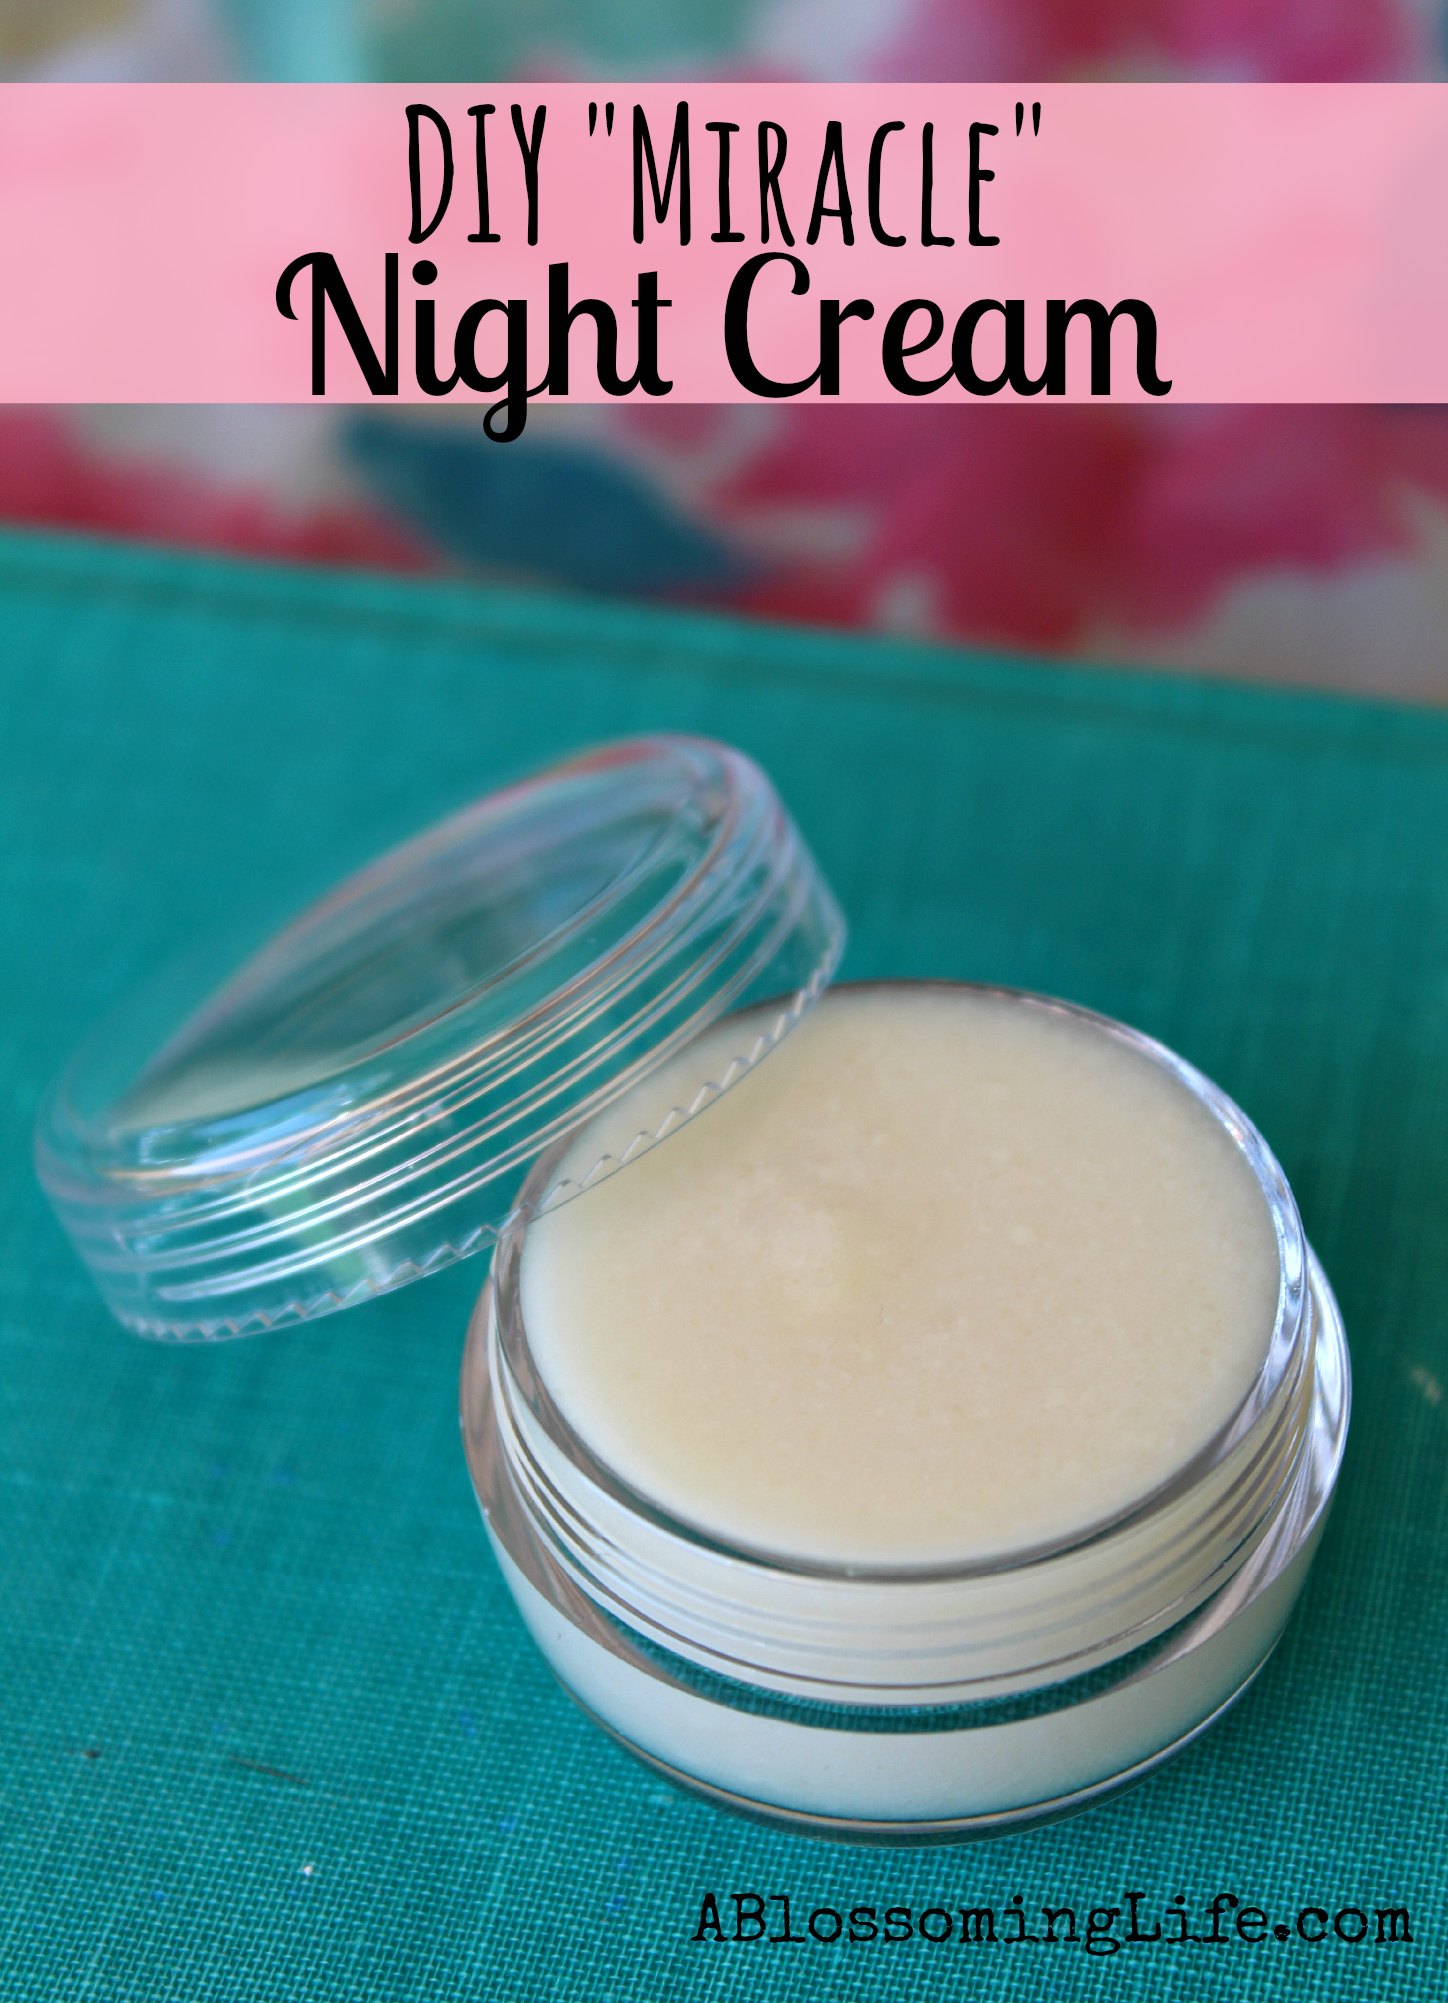
DIY “Miracle” Night Cream

DIY Miracle Night Cream
Since starting a new job, studying for my RD exam, and preparing to do that whole moving thing has made this lady super stressed out and tired all the time. Boy does my face start to show it! You know that whole puffy eyes, dark circle thing. Not cool! I don’t even want to talk about what grad school did to my skin…
The recipe I am sharing with you today includes amazing ingredients.
  • Raw shea butter  and extra virgin coconut oil both are amazing moisturizers, skin protectors, and can help heal the skin.
  • Almond oil has been shown to reduces puffy eyes and dark circles, and also has anti-aging properties.
  • Lemon essential oil is an astringent, detoxifier, brightener, and can help lighten skin spots.
  • Aloe vera gel is a skin brightener, neutralizes free radicals, repairs damaged skin, can help aid skin issues like eczema, and slow down the appearance of wrinkles.
  • Bentonite clay helps absorb and remove toxins and impurities.
  • Vitamin E oil can help block free radicals, slow down the skins aging process, and help heal scar tissues and skin issues.

DIY “Miracle” Night Cream

Ingredients:
*You can double the recipe
Directions: In a double boiler, sauce crock pot, or microwave safe dish place first 4 ingredients and heat slowly until melted. Pour into a blender and let cool.  In a separate bowl, mix together aloe vera gel, vitamin E oil, lemon essential oil, and honey. Once the beeswax oil mixture has completely cooled and become almost the texture of lip balm, mix it with a spoon a little to break it up, and add the aloe mixture into the blender. Blend until well combined. Place back in a non-metal bowl and add 1/2 tsp bentonite clay, and stir with a non-metal utensil. DO NOT LET IT COME INTO CONTACT WITH METAL! You get the point :). Place cream in a glass or plastic container and store in cool dry place.
I’ve been using this cream for a little while now and I love the way it feels on my skin. I can see a difference in my skin! Brighter,  hydrated, and the puffy eyes/dark circles have decreased a ton. Plus, you know exactly what ingredients are going in and you don’t have to worry about harmful chemicals. I feel like a say this every time I do a DIY skin care recipe! It’s true though!
The reason this is a night cream is because it contains lemon essential oil which can cause photosensitivity in the sun. If you want to make this a day time cream just eliminate the lemon essential oil. You could make one cream for day and one for night!
Side note: Some people believe that aloe can boost hair growth. I could not find z scientific study proving this and from personal experience on using aloe vera on my face for a long time I have not grown facial hair :)!
Aloe can increase absorption of steroid creams so you may want to avoid aloe when taking them.
More info on aloe can be found here: Journal of Pharmacognosy and Phytochemistry
Links may contain affiliate links
I party here…

Monday, June 23, 2014

17 Personal Care Products You Will Never Have To Buy Again #17

17 Personal Care Products You Will Never Have To Buy Again


17 Personal Care Products You Will Never Have To Buy Again

HOMEMADE WIPES FOR BABY, MAKEUP REMOVAL, AND CLEANING!

homemade wipes

WELCOME to “Save My Sanity Saturday” at One Good Thing By Jillee….where I attempt to avoid having a nervous breakdown by actually giving myself a day off from blogging once a week!
Here is an oldie but a goodie from all the way back on September 10, 2011……..
If you’ve read my blog lately…you’ll know I’m kind of on a “homemade” kick. Not necessarily homemade cookies, cakes and buns….but more along the lines of cleaning supplies, beauty products, etc.
I haven’t gone off the deep end and started making my own dishes or shoes or anything like that (of course, never say never!) but more and more I find myself looking for alternatives to the high-priced, over-packaged, chemical-filled stuff. Sure it’s economical, sure it’s the “green” thing to do…but quite frankly…what I like MORE is the feeling of accomplishment and “sticking it to the big corporations” that market this stuff. :-)
One thing I still buy and use are those disposable make-up remover cleansing cloths. I really dislike washing my eye makeup off in the sink with soap and water.  It’s just a messy proposition and I usually end up getting soap in my eyes and melted make up all over the sink, the counter and my white towels!

homemade wipes


Problem is…those makeup remover cloths are EXPEN$IVE! Especially the brand-name ones. So for quite awhile now I’ve been buying the cheapest, store brand ones. ButANOTHER problem is…the cheap ones are CHEAP for a reason.  They aren’t as soft and/or moist as their more expensive rivals. The last couple of months I have started adding my own lotion to them before I use them and it’s been a HUGE improvement! Makeup comes off much easier without unnecessary rubbing and pulling on your delicate eye skin…and it leaves your skin moisturized!
Tonight I saw an idea at WhiteHouseBlackShutters.com for making your own wipes with all-natural ingredients you probably already have on hand.

coconut oil


The main ingredient (besides water) being coconut oil. Coconut oil is a fantastic addition because it contains Lauric Acid, which has natural antimicrobial, antioxidant, antifungal, antibacterial, and soothing properties.
The process is so simple I’m not sure you even need a “tutorial”, but if you’re a VISUALperson and need pictures, here you go!

homemade wipes
homemade wipes

Directions:

Cut a roll of paper towels in half, place each half in a container with a tight-fitting lid, then soak each half with 2 cups warm water and the desired mixture (see below). The ingredients differ only slightly depending on what kind of wipes you’re making.
After you have added the water, snap the lid on (you’ll have to smoosh it a bit to make it fit) and turn it upside down. Wait 5 to 10 minutes then turn the container right side up, take the lid off, and remove the cardboard tube in the center. It should come out easily. Now grab the first towel in the center of the roll and pop it up for easy dispensing!

Recipe for baby wipes:

4 cups warm water (one reader recommends DISTILLED water to inhibit the growth of mold),1-2 tablespoons Coconut Oil, and 1-2 squirts of baby wash, and/or 20 drops Lavender essential oil.

Recipe for makeup remover wipes:

4 cups warm water, 1-2 tablespoons Coconut Oil, 1-2 squirts of baby wash or favorite face wash, and/or 12 drops Frankincense, 12 drops Melaleuca, 12 drops Lavender essential oils.
Note: A couple of people who have tried this have said their wipes started developing mold within a couple of weeks. A couple of things to try are:  Making smaller batches so you are using them up faster….OR….adding some Melaleuca essential oil, which inhibits the growth of mold. I haven’t had the mold issue…but I live in SUCH a dry state, that might have something to do with it.

Recipe for cleaning wipes:

4 cups warm water, a few drops of your favorite concentrated cleaner, and/or 20 dropsLemon & 20 drops Lavender essential oil.  (Use coupon code JILLEE to save 10% on anySpark Naturals essential oils!)

Making homemade wipes takes just a few minutes of work and saves loads of money!

Sunday, June 22, 2014

17 Personal Care Products You Will Never Have To Buy Again #16

17 Personal Care Products You Will Never Have To Buy Again


17 Personal Care Products You Will Never Have To Buy Again

HONEY VANILLA BUBBLE BATH RECIPE

Homemade Honey Vanilla Bubble Bath | Henry Happened
I’m just going to go ahead and say it – I hate taking baths. Just thinking about lying in the tub, staring at the walls, trying to relax starts to stress me out. There’s too much to do! The kids are probably tearing down the house! A shower is way more efficient. I was in and out of the shower in less than 4 minutes today, with a crying, croupy toddler peering around the curtain the whole time.
This column of bath & body recipes is supposed to be called “Taking Care” because moms (cough, me) gotta start taking better care of themselves. But I just can’t do it yet – not with a straight face anyway! For stressed out mamas a relaxing vanilla bubble bath recipe is just the place to start. Preferably with a glass a wine.
Homemade bubble bath recipe | Henry Happened
According to my daughter, baths rock. It does seem like “growing up” means giving up all the fun stuff doesn’t it?

HONEY VANILLA BUBBLE BATH

  • 1/2 cup light almond oil
  • 1/4 cup honey
  • 1/2 cup mild liquid hand or body soap (Dr. Bronner’s is my fave)
  • 1 egg white
  • 1 tablespoon vanilla extract
Combine ingredients and pour 1/4 to 1/2 cup under running water. Keep excess in the refrigerator.
DIY Bubble Bath Recipe | Henry Happened
My first attempt at making bubble bath a couple of years ago was a total bomb. The secret is the egg white! It helps create bigger bubbles that last longer.